
Learn how to generate your xAI API Key and connect Grok to Pluga to build powerful automations without writing any code.
If you're exploring artificial intelligence to automate processes in your business, xAI — the company behind Grok — is one of the most recent and promising options available. With it, you can integrate AI into different workflows, automate tasks, and generate intelligent responses. And the best part? You can connect it all to Pluga and build powerful automations without writing a single line of code.
How to generate your xAI API Key (step by step)
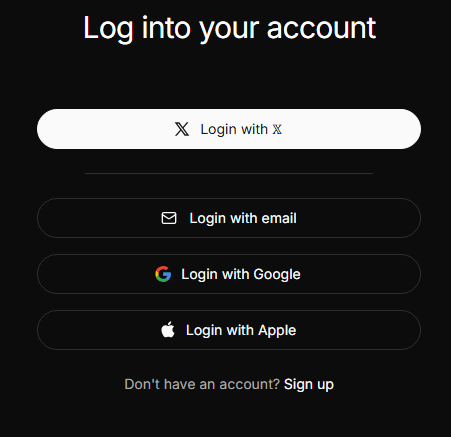
Step 1: Access your account
Go to the xAI portal: https://accounts.x.ai/sign-in and log in to your account.
Step 2: Open the API Keys section
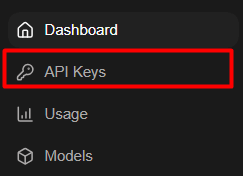
On the left sidebar menu, click on "API Keys".
Step 3: Create a new key
On the management screen, click the "Create API Key" button.
Step 4: Name your key
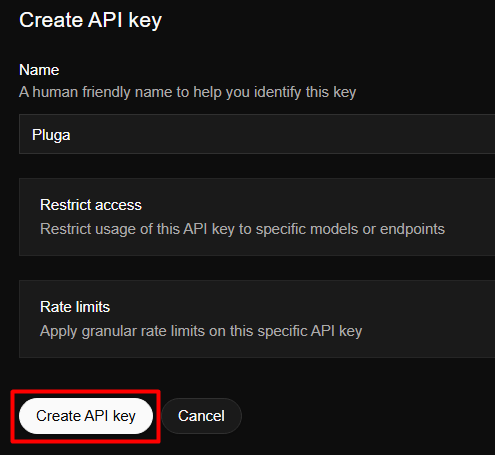
Enter a name to identify your key and confirm the creation.
- Enter a name to identify your key (e.g., Pluga)
- Click "Create API key"
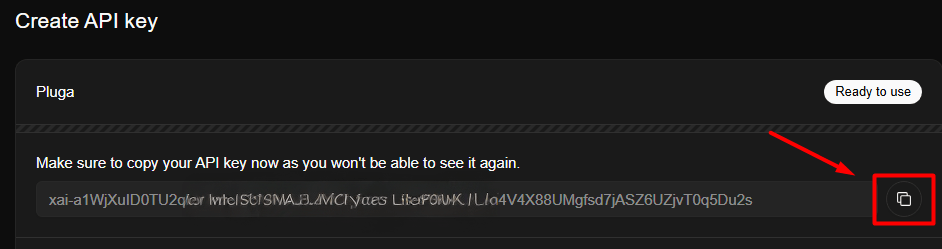
Step 5: Copy and use it in Pluga
Copy the generated key and paste it into Pluga to connect your xAI integration.
- Copy the generated API Key
- Paste the API Key into Pluga to connect your integration
Done! Now you're ready to use xAI in your automated workflows with Pluga.